If you’ve spent time on LinkedIn recently, there’s a good chance that you’ve seen at least some of your connections using the platform’s LinkedIn Publishing feature. As discussed in our introduction to LinkedIn Publishing, this feature allows users to write articles and publish them directly on their profile, allowing connections to read the articles directly on LinkedIn instead of going to a third-party website to check out the content.
Here’s everything you need to know about how to use LinkedIn Publishing:
Step #1: Click “Write Article” near the top of your LinkedIn homepage.

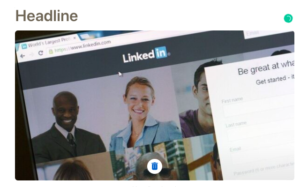
Step #2: Select a cover photo for your article by clicking on the camera icon. Note that the recommended image size for these header photos is 700 x 400.
Step #3: Click the “Headline” field to add the title of your article. (NOTE: If you’re unable to click the Headline field, you may have a browser extension that is blocking this functionality. This can be resolved by disabling these extensions and refreshing the editor.)

Step #4: Add in the content of your article in the “Write Here” field. While you are able to copy and paste content into this field, be sure to double-check that any embedded links are properly carried over into the body of your article.
Step #5: Now that the copy for your article has been uploaded, you’ll want to make the post more dynamic by adding images or video, pull-out quotes, presentation slides, and/or links. These can be added to your article by selecting the square icon next to “Write Here.”
Step #6: You can also adjust the text sizing and font weights in your article to improve readability. Be sure to use tools like headers and bullet points to help readers easily identify key concepts and major sections of your article.
Step #7: If you’ve previously published the content on another site (such as your company blog), it’s a good idea to add that information to the bottom of the post, inviting readers to check out the original publication. (For example, “This article originally appeared on the Scooter Media blog,” followed by a link to the post).

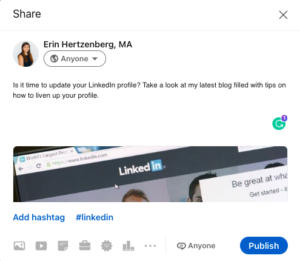
Step #8: Once you feel as though the article is in a good place and you’ve double-checked the formatting, click “Publish.” You will be prompted to provide copy for a post that will share the article directly to your LinkedIn profile. This is a great opportunity to tag people and organizations mentioned in the article to increase visibility, and to briefly state why your readers should care about the content that’s included in the article.

Once your article has been published, your work isn’t quite done! Remember that LinkedIn is about relationship-building first and foremost, so be sure to spend time engaging with anyone who takes the time to read your article and comment on it with thoughts or questions. Keep engaging with your audiences and soon you’ll be on your way toward being viewed as a thought leader in your industry, both on LinkedIn and beyond!
Looking for more ways to utilize LinkedIn? Learn “How to Add Pronouns to Your Instagram and LinkedIn Profiles,” then check out our guide to “Incorporating LinkedIn Into Your Nonprofit Social Strategy.”


